Saturday, September 25, 2010

Fall Festival


This is a layout I made for a Fall Festival we go to every year. It is at the school I went to when I was growing up. My mom has volunteered to run the Italian food booth there for the last 29 years. She says she wants to do at least 1 more year to make it an even 30 years. She is the reason we still go. We went last night and had a blast! The kids went on rides, played games. and my favorite part, the baked goods booth. I have some really great memories of the Fall Festival and I really enjoy making new ones with my family.
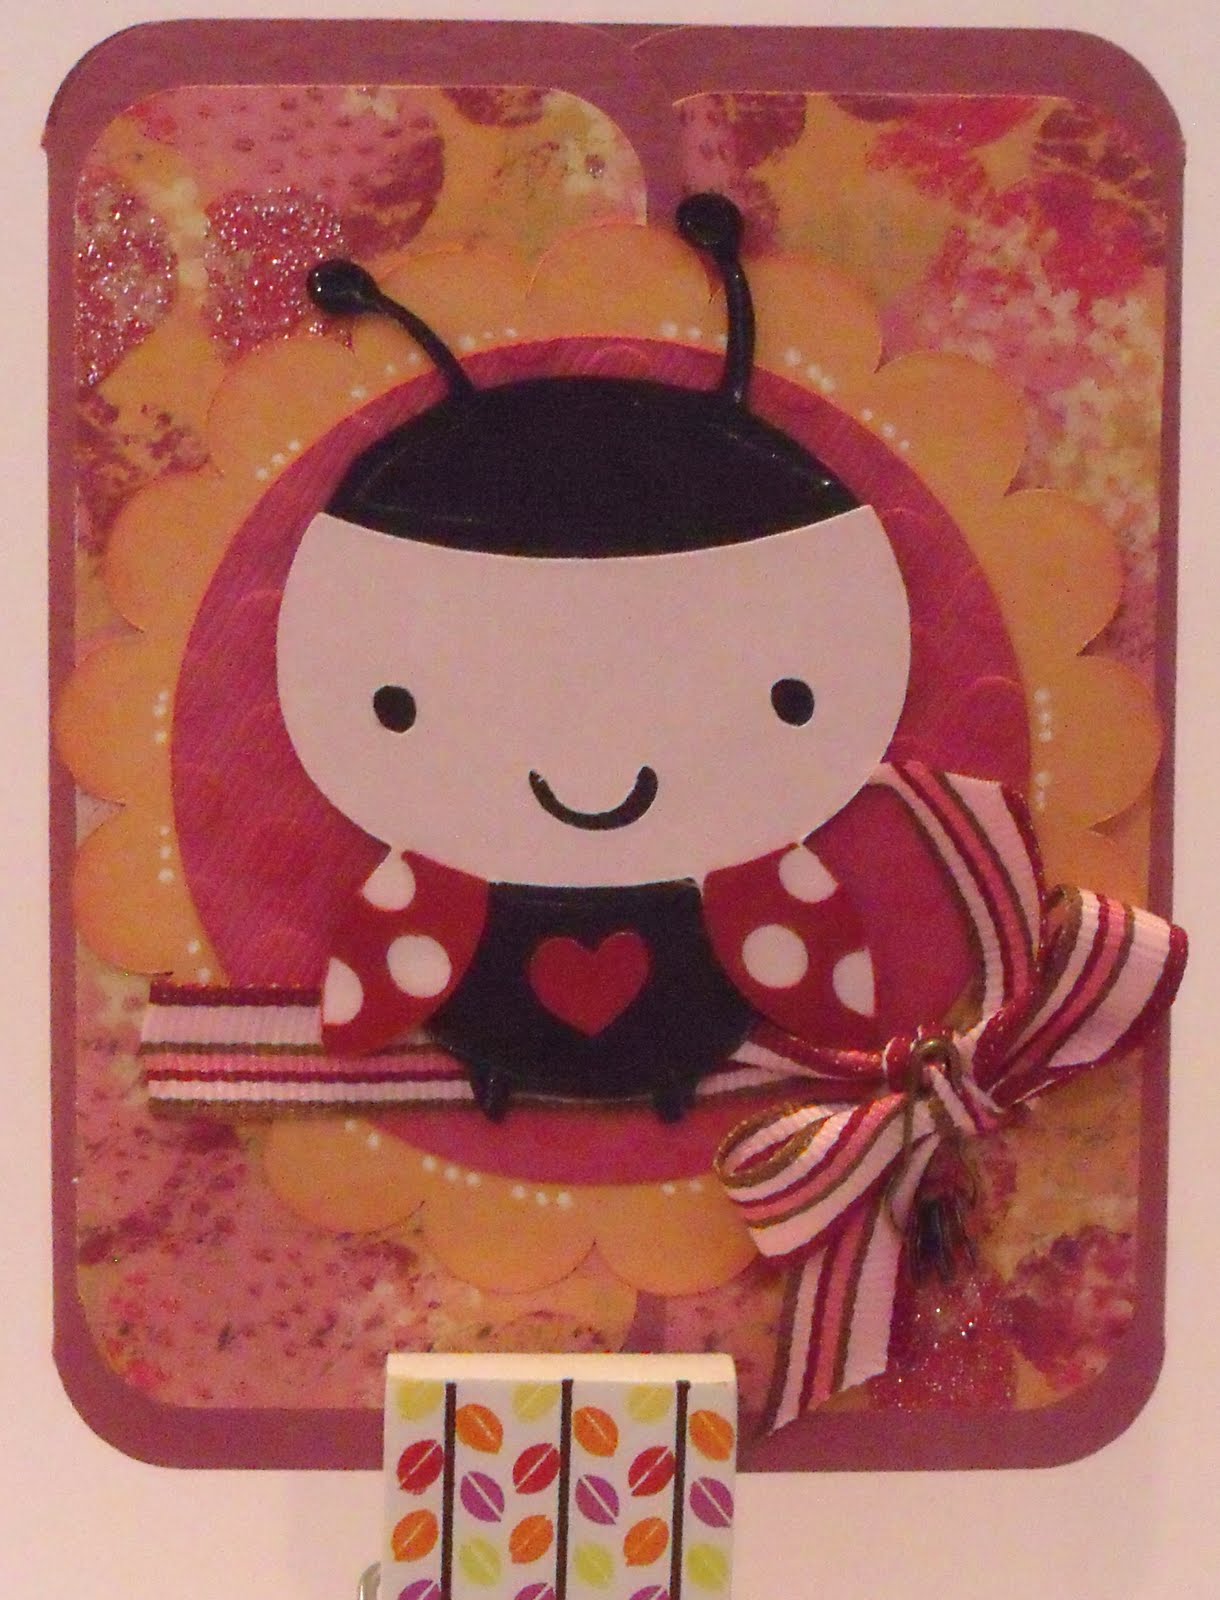
Anywho, all the die cuts are from the Carousel Lite Cartridge. I am so loving this cart! It is fun and layers so easily! The title is also from this cart. The sticker letters are from Karen Foster. The paper is from a very old stack called The Scrapboook Wizard. TFL.

Wednesday, September 22, 2010

Owl My Thanks


This is my latest card. It is made with my Cricut Expression and Cricut Imagine. The cartridges I used were Wild Card and Imagine More. The owl is from the Wild Card cart. I cut it at 5.5 inches. I used the CI with the Imagine More cart to flood fill the owl with a pattern that I am really loving. I also used the Imagine More cart to flood fill the eye layer with a pattern. Then I used my E to cut the owl on blackout to line the inside of the card with blue cardstock.
I printed the sentiment on the computer in Microsoft Word. It says "Owl My Thanks" two times. All my circle punches are dull or broken because they are so old. And I just can't justify buying more right now with all the toys I have. So, I thought I would give the "Center Point" feature on the Expression a try. I used George and Basic Shapes, sized it to the size I wanted, put my printed paper on there and gave it a try. I think it worked out good. It is not perfect, but I am pleased. I know I will get better at it with time. I put an orange button in the middle to embellish.

I also added blue bling to the eyes and ribbon to the center of the card. TFL!

Saturday, September 18, 2010

Count Your Blessings Birdies


I made this card for a friend who just had a baby. On the inside it says. "Count Your Blessings". The birds are cut from Wall Decor and More at 4". The photo corner is from Picturesque and is cut at 1.5". The ovals are custom sized on my Gypsy to fit the birdies. I used George and Basic Shapes for those.
The paper is from the DCWV Latte stack. It has such rich and beautiful colors! The purple in the stack just sang to me. I added some ribbon and a brad and some glitter pen here and there. I don't think I know how to make a project without my glitter pen! TFL!

Thursday, September 16, 2010

Thank You Card - Imagine More Cart


This is my second card made with my Imagine. Super easy, super fun! The card is a standard A2 size. The part that was cut with the Imagine is the 3rd pic from the top. It is on page 21 of the Imagine More cartridge. I did not change any of the colors. I did make my own cardstock oval to put behind the cut and printed piece. I popped the piece I cut on the Imagine. I also popped the rose on that set of cuts.
The solid orange and blue colored papers behind it are cardstock from my stash. The checkered paper is from the My Mind's Eye Complete Boy stack. These cartridges will still blend very well with traditional cardstock and printed papers. For me, it will make my matching and card making so much quicker and easier.
The rubber stamp is from Stampendous stamped with a Tim Holtz distress ink. I also used a sander around all the edges to play up the "shabby chic" look that this cartridge seems to lend itself to. I also added ribbon, staples, some glitter pen here and there, and viola... here is my card!
TFL!

My first Video!!!! Some Imagine Info.!

Hi Ya'll!!!! I have made my first video. It was a bit tough. And let me apologize right now because it is shakey and my editing skills are not good yet. But, I still think it has a bit of good info. TFL!


Wednesday, September 15, 2010

Imagine...Just Because Armadillo


Oh my....how great is the Cricut Imagine!! The printing is wonderful and the cutting is so smooth. It is the first day, but it is a good first day. Anywho, here is my first project. It is a really simple card. I used the Imagine More cartridge and the basic round scallop that came with the machine. I cut the largest scallop at 5.5 and flood filled it with "pattern" content from the cartridge. The next scallop is 4.5 and is also filled with "pattern" content from the cartridge. The armadillo set of cuts is from page 10 of the manual. I changed the base color of the circle to orange. I cut everything else as it came in the book. I cut it as layers rather than one piece. I popped the "Just Because" and the Armadillo to the bottom circles. I also popped the whole set of armadillo cuts to the card. I added a bit of ribbon. The card is just a simple piece of 12" x 6" cardstock folded in half. I am soooo gonna' love this machine! TFL!

Tuesday, September 14, 2010

Halloween Mini Book

This is a Halloween mini book I made. I made it for a family member that doesn't get to see my boys very often. This is most of the book. Then after Halloween I will put pics of my boys in the book and mail it off. TFL!

The book is overall 6"x6" chipboard. All the cuts I made were from Happy Hauntings. Mini Montsters, October 31st, Lyrical Letters or George and Basic Shapes. I am so glad that Provo Craft finally came out with some Halloween carts this year. Of course I used my Gypsy to size and add dimension to everything. For the cover I used paper from the new DCWV Halloween Stack. The haunted house is from October 31st. The ghosts are from Happy Hauntings. It is really hard to see in the photos, but I used gray and green chalk in on the ghosts to make them look like they glow in the dark. It looks cool in person.

The paper on these 2 pages also comes from the newest DCWV Halloween stack. The spider web is from October 31st. The spider is from Lyrical Letters.


This is the same paper as from the front and back of the book. The tree is from Happy Hauntings and the "beware" is from Happy Hauntings.


The paper on this is from a Cloud 9 seasonal stack. The "drippiness" at the top is from the Martha Stewart Drippy Goo punch. The "Caution" sign is from Happy Hauntings.


The paper on this is also from Cloud 9. The shape punched "into" the corners and edges is also Martha Stewart punch. It is a new one this year. I think it is called Crackle. I think it looks like brains.....muahhhhhhaaaahahha.


The paper on these 2 pages is from a way old DCWV Fall stack. It pays to be a hoarder...I mean...collector sometimes....lol. I really love how these 2 pages came out. The eyes are from October 31st. The letters are stickers from Joanns. The brads are Making Memories.


The paper on this layout is last year's DCWV specialty Fall stack. The ribbon is K & Co. The 3D dancing skeltons are foam.


This little layout is super simple, but fun. The vines are cut from October 31st. The pumpkins and owl are K & Co. stickers. And then I added a few seqiuns 'cause I always gotta' have some bling.


The paper on this spread is from a stack from K & Co. from last year. It is a 2 sided paper, so each side is the reverse of the other. The title is from Mini Monsters. It says "A Little Batty". I love how this cart layers together. It is super easy to use. I also used a Making Memories Brad and some fibers.


The paper on this is from K & Co. also. It is a 2 sided paper. I created the candy corn on my Gypsy from the George and Basic Shapes cart. I also created its shadow. I started with a rounded edge triangle and adjusted the width. It was easy peasy from there. I inked all the layers with orange chalk ink for some depth. The ribbon is K & Co.


This is the candy corn page opened up.

This is the back. I might add some ribbon or fiber once I add all the photos into the book. I learned waaaaay to much about Blogger today!!!! But, at least I can post a bunch of photos at once! Thanks so much for looking.

Thursday, September 9, 2010

Happy Birthday Ladybug Card - CC


My "stash" of cards was starting to get low. So, I am making a few cards to build it up. It seems like things are always popping up that I need a card for. So, here is the first of my "stash" build up.
I saw some great gatefold cards on the Cricut mb and decided to do a few myself. When I do a card I usually do between 2 and 4 cards. It helps have less waste, less leftovers and, of course, more cards!
The paper on this card is from a K&Co stack called Portabello Road. The cardstock is Core' dinations. The punch on the corners on the inside is a Martha Stewart corner punch. It is part of a corner/border pack.
The inside "Happy Birthday" cut is from Once Upon A Princess. I added some glitter pen and pink dots and lines for detail.
The adorable little ladybug is from Create A Critter. She is cut at 3.5 inches (I think). I added some ribbon and a safety pin with some sequins on it for some bling.
Thanks for stopping by and looking!


Thursday, September 2, 2010

Thank You Olive Juice Studio & Memory Miser!

So I entered a monthly challenge at www.Olivejuicestudio.com. And what I entered was my Skeleton card in the post before this one. It was a really fun challenge. And there was an amazing prize involved. The winner would receive a Wall Decor Cricut cartridge!!!! That is one I actually don't have. The winner was chosen by random drawing and was sponsored by www.MemoryMiser.com. The drawing for the contest was yesterday. There were 13 entries. And I thought there was no way I would win. But, when I got home from my Church meeting last night I decided I would check anyway. And guess what..... I WON!!!!!

I was so shocked. I was literally screaming! My husband and children were looking at me like I had lost my mind. But I feel like I won the lottery. Thank you so much Kim at OliveJuiceStudio.com and MemoryMiser.com. I can't wait to get this amazing cart and start playing!