Monday, August 22, 2011

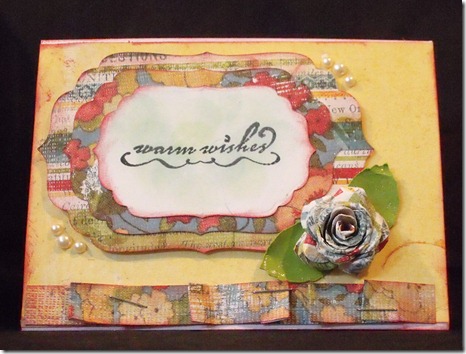
Giggle and Warm Wishes

front 1

giggle 1

close up of rose

Hi Y’all! Here are a couple more cards.  And here is the recipe(s):

  • Basic white card base
  • Printed paper-Daisy D’s
  • Nestabilities Shape for 3 middle shapes
  • Cricut Flower Shoppe for flower and leaves
  • Queen and Co. for Pearls
  • Fiskars for rubber stamped images
  • border done by folding paper in various places and then stapling and gluing down.
  • Misc.-pop dots, glitter pen

FRIEND

Front 1


Front 2


close up 1


Hi all! Here is another card I have been working on. It was pretty easy to make. Here is the recipe:


Paper-Printed: Michaels recollection Cardstock, DCWV


Paper-Cardstock: Core’dinations


Brads (flower centers): made with the Itop brad maker and the paper listed


“friend”: chipboard


Flowers: nestabilities circle scallop shape


Leaves: Cricut Flower Shoppe and Free hand


Misc.: Ribbon, Pearl Glimmer Mist, Glitter mist


Thanks for looking!!!!

Thursday, August 18, 2011

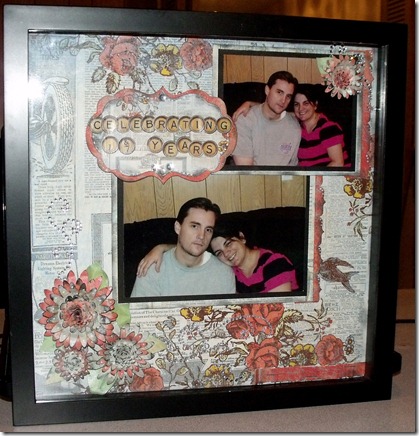
Celebrating 17 Years!

front 1

bottom flowers and bling

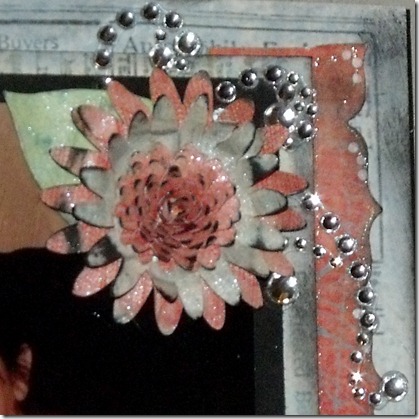
right corner close up

in frame

So this is me and my dear hubby.  Last year we celebrated our 17th wedding anniversary.  We are also high school sweethearts so we have been together for 22 years together all together!  He is a really wonderful man and I feel blessed to have him!  I made this layout to hang on our wall as a momento of our anniversary last year.  It is a 12 x 12 layout that is mounted in a shadow box. 

I used my Cricut Imagine to make the layout.  The background paper is printed on the Imagine.  So is every other printed paper on this layout.  All the flowers were printed and cut on the Imagine as well.  The title papers were cut with using one of the basic shapes that comes installed on the Imagine.

I cut the flowers using the Flower Shoppe cartridge and the Mothers Day Bouquet cartridge at varying sizes.  The photos are mounted on black cardstock and then the newspaper print paper.  The side borders are a Fiskars punch.  The rhinestones are by Recollections.  I made a small bunched up border at the bottom and stapled it on.  I used my glitter pen and white pen here and there.  The letter stickers are by Jolee’s Boutique.  TFL!