This is a project I made for Halloween to hang on my wall. I think I will probably put it in a frame before I hang it. This is post 1 of 2.
This is the whole project. There will be another photo in the next post. I used my Cricut, SCAL program, and Making Memories Slice. The Trick or Treat at the top is a file from the talented designer Tina Mansfield of Cardiology Creations.

This is a close up of all 5 "monsters". There is an alien (at least that's what I think that's what that fluffy purple thing is lol!), Frankiestein, Witchypoo....with her scaredy cat, and a Mummy.

I used the Cricut Paper Dolls Dress Up Cartridge to make all the monsters. The alien is cut at 3". I used a blue Sakura Gelly pen to go around the edge of the alien. It looks way coool in person. Frankiestein is cut at 3 1/2". His face is stamped on with a Peachy Keen stamp. I embellished his clothes with the same type of pen, only it was clear with just glitter.

Ms. Witchypoo is cut at 3". I gave her a broom and a cute little scaredy cat. The cat's eyes are a little hard to see, but they are made with a green glitter pen. The broom handle is hand colored with a brown marker and so are all the cuts on the broom bristles. I embellished the witches clothes with the clear glitter marker.

The Skeleton and Mummy are both cut at 3". For the skeleton I had to use a white pen to highlight all the bones. It took forever! But I am happy with how it came out. I also used googley eyes. For the Mummy I used a brush tip marker to highlight all the cuts and then used a glitter pen on top of the brush strokes. After that I used a Colorbox Cats eye ink pad on top of and around the edges of the mummy.


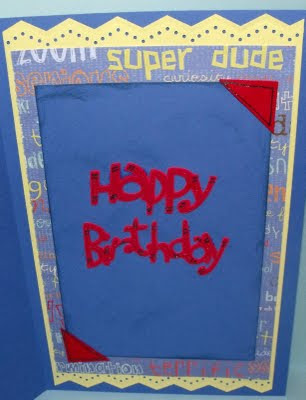
 UP, UP AND AWAY! Here comes Super Grover....I made this card for a little friend of mine. He was turning 3. He loves super heroes and the Sesame Street cartridge was the first thing that came to my mind. Now, he probably would have liked Batman or Superman more, but since those carts aren't out yet, I thought Super Grover was way cute!


 I used the Cricut Paper Dolls Dress Up Cartridge to make all the monsters. The alien is cut at 3". I used a blue Sakura Gelly pen to go around the edge of the alien. It looks way coool in person. Frankiestein is cut at 3 1/2". His face is stamped on with a Peachy Keen stamp. I embellished his clothes with the same type of pen, only it was clear with just glitter.
 The Skeleton and Mummy are both cut at 3". For the skeleton I had to use a white pen to highlight all the bones. It took forever! But I am happy with how it came out. I also used googley eyes. For the Mummy I used a brush tip marker to highlight all the cuts and then used a glitter pen on top of the brush strokes. After that I used a Colorbox Cats eye ink pad on top of and around the edges of the mummy.